Tips and ideas for completing your Heirloom Felt Designs Pocket Hug Kit
Please Note: Each Pocket Hug Kit is one-of-a-kind. The pieces and colors in your kit will vary from the samples shown here. Put your own creativity to work by arranging the elements of the design to your liking and adding your own embellishments, such as beads, buttons and embroidery details.
pocket hugs


basic assembly and sewing

Unpack your kit

You will find two base pieces of felt, small cut appliques, embroidery floss (thread), acrylic fiber fill and a ribbon you can use to hang or decorate your hug.

Play with the applique pieces to come up with your design. You may have more pieces than you need. You may want to add your own elements (buttons, beads, etc.)

Tip: Snap a cellphone photo of your prefer design before you begin sewing.
Your floss has six threads. Separate this into three pieces with two threads each.

Sew the pieces to the top.
Tip: Snap a cellphone photo of your prefer design before you begin sewing.

Whip stich around the outer edges of the hug.
When you are about three-quarters of the way finished, stuff lightly with the fiber fill.
Tips & Inspiration

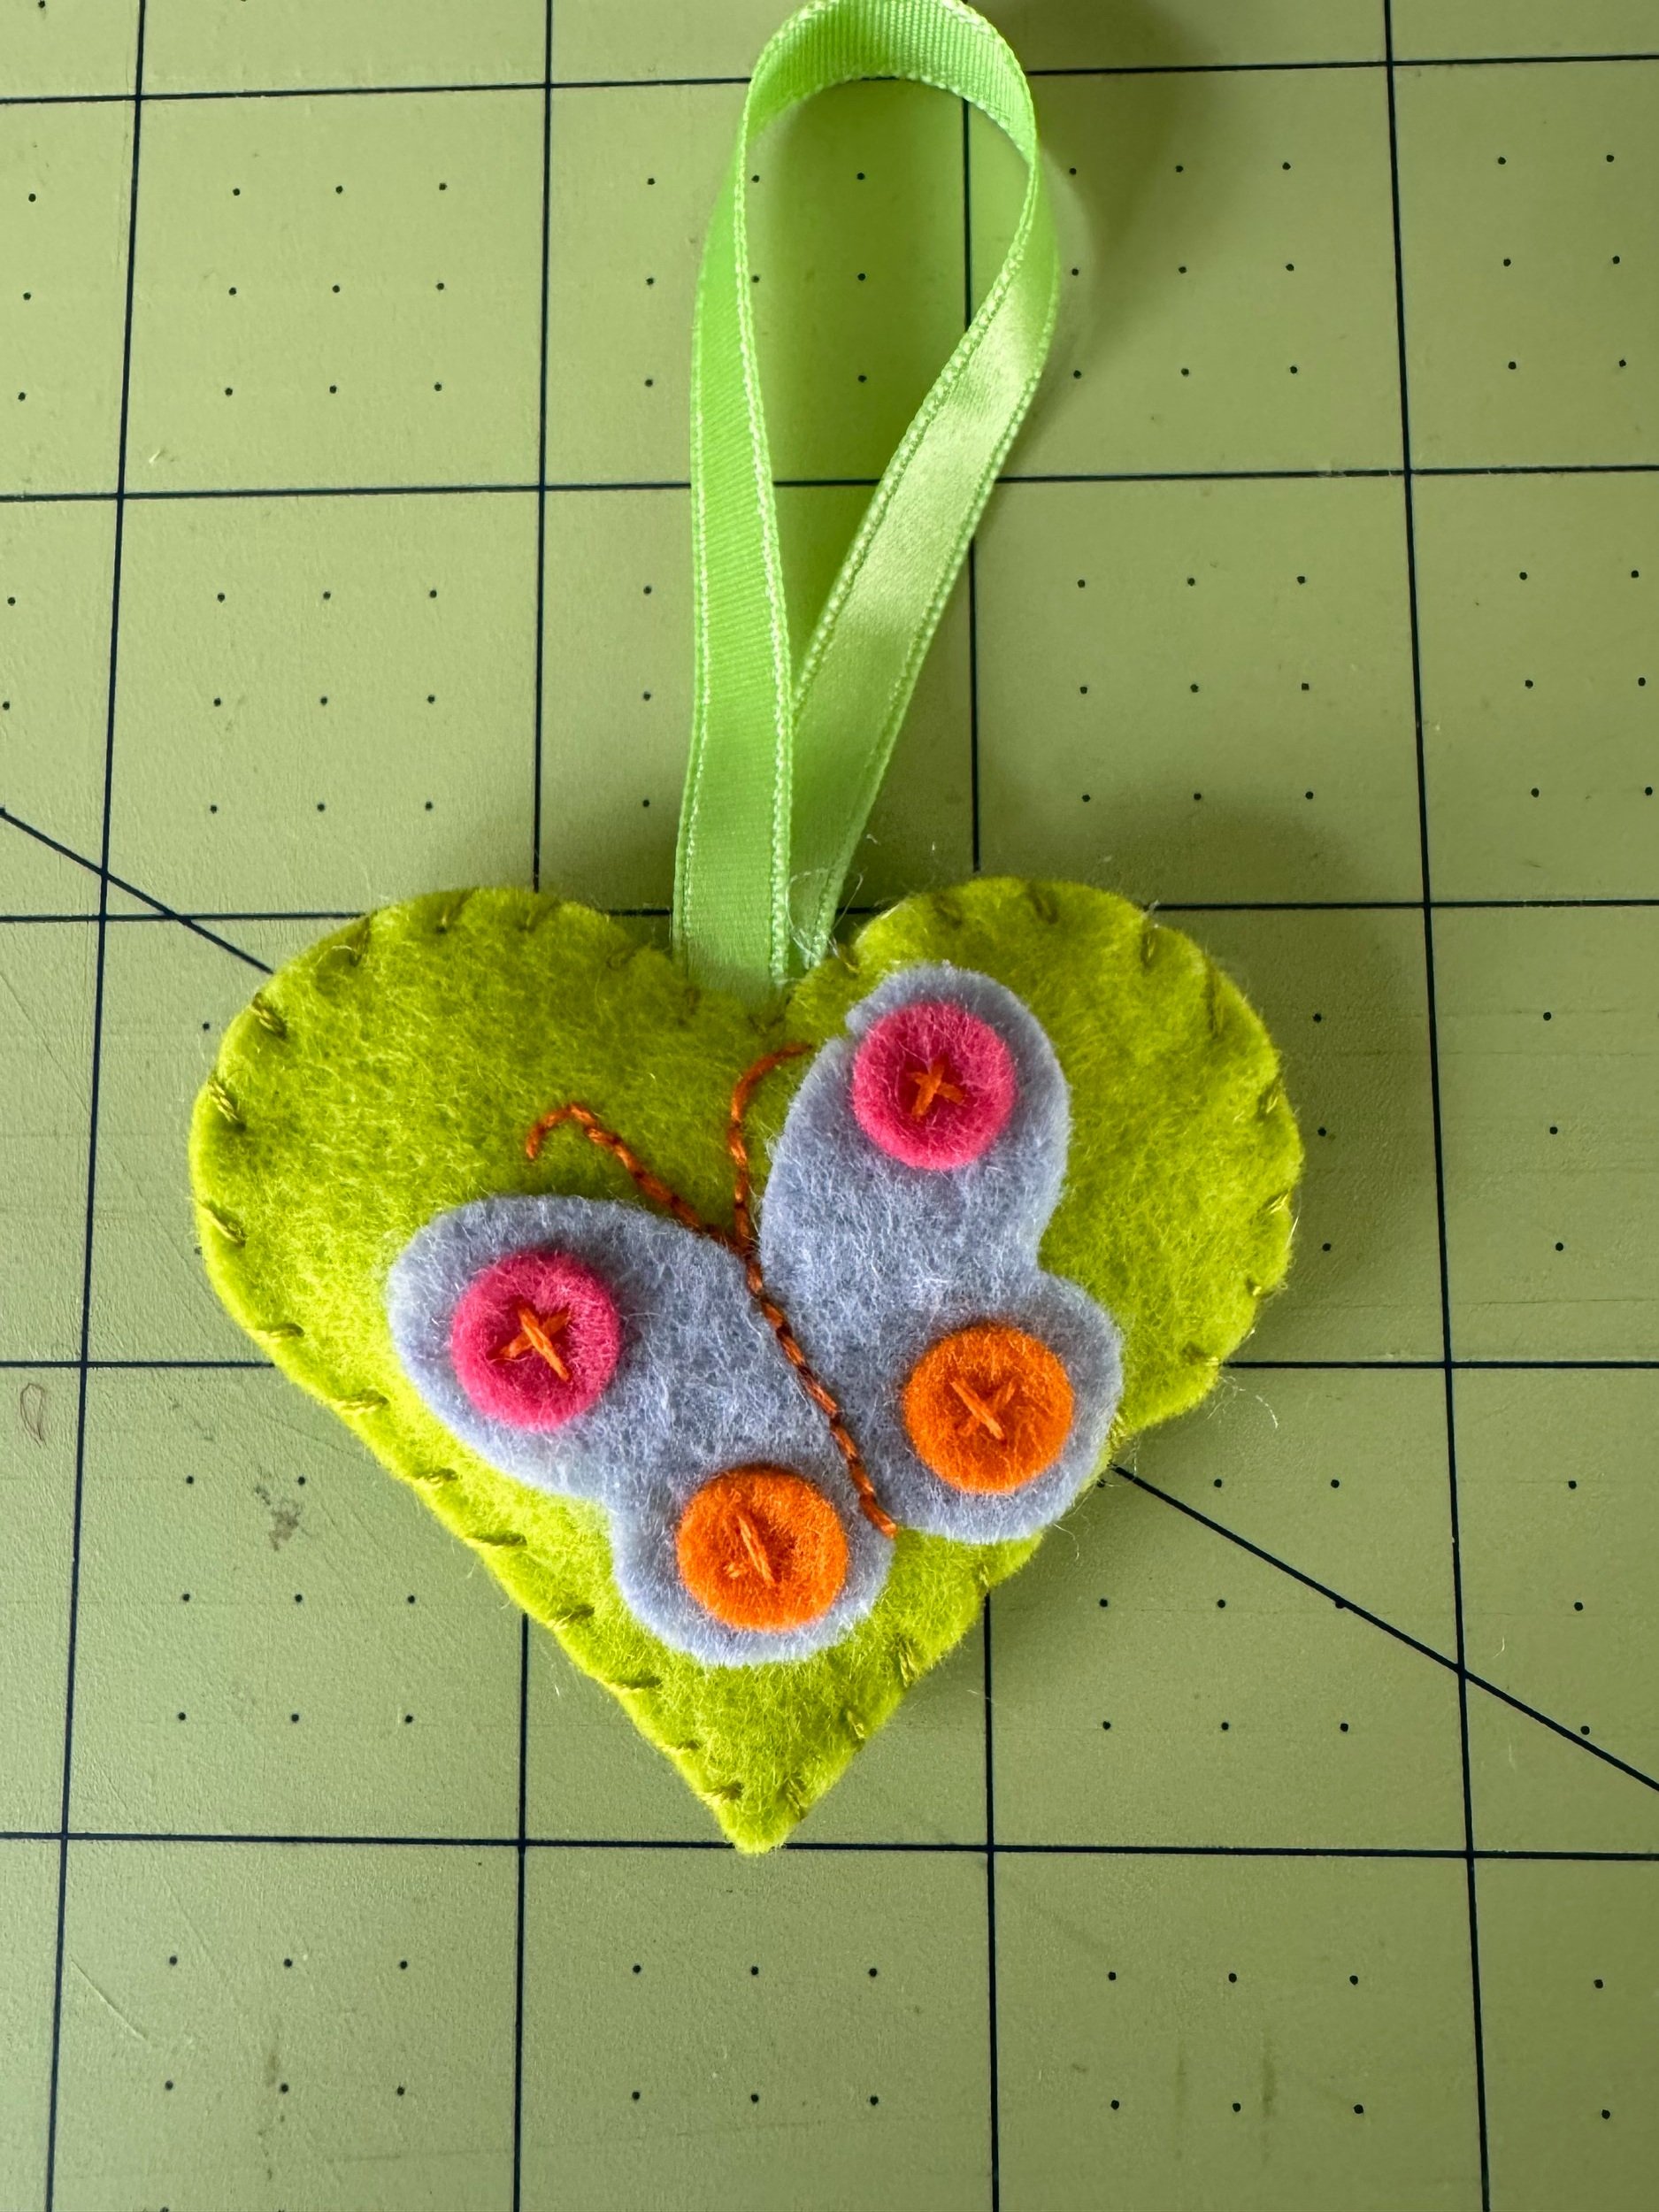
Add a ribbon to hang your hug. Fold the ribbon in half and sew it into the top of

Stuff lightly with fiber fill. You may also leave your piece unstuffed.

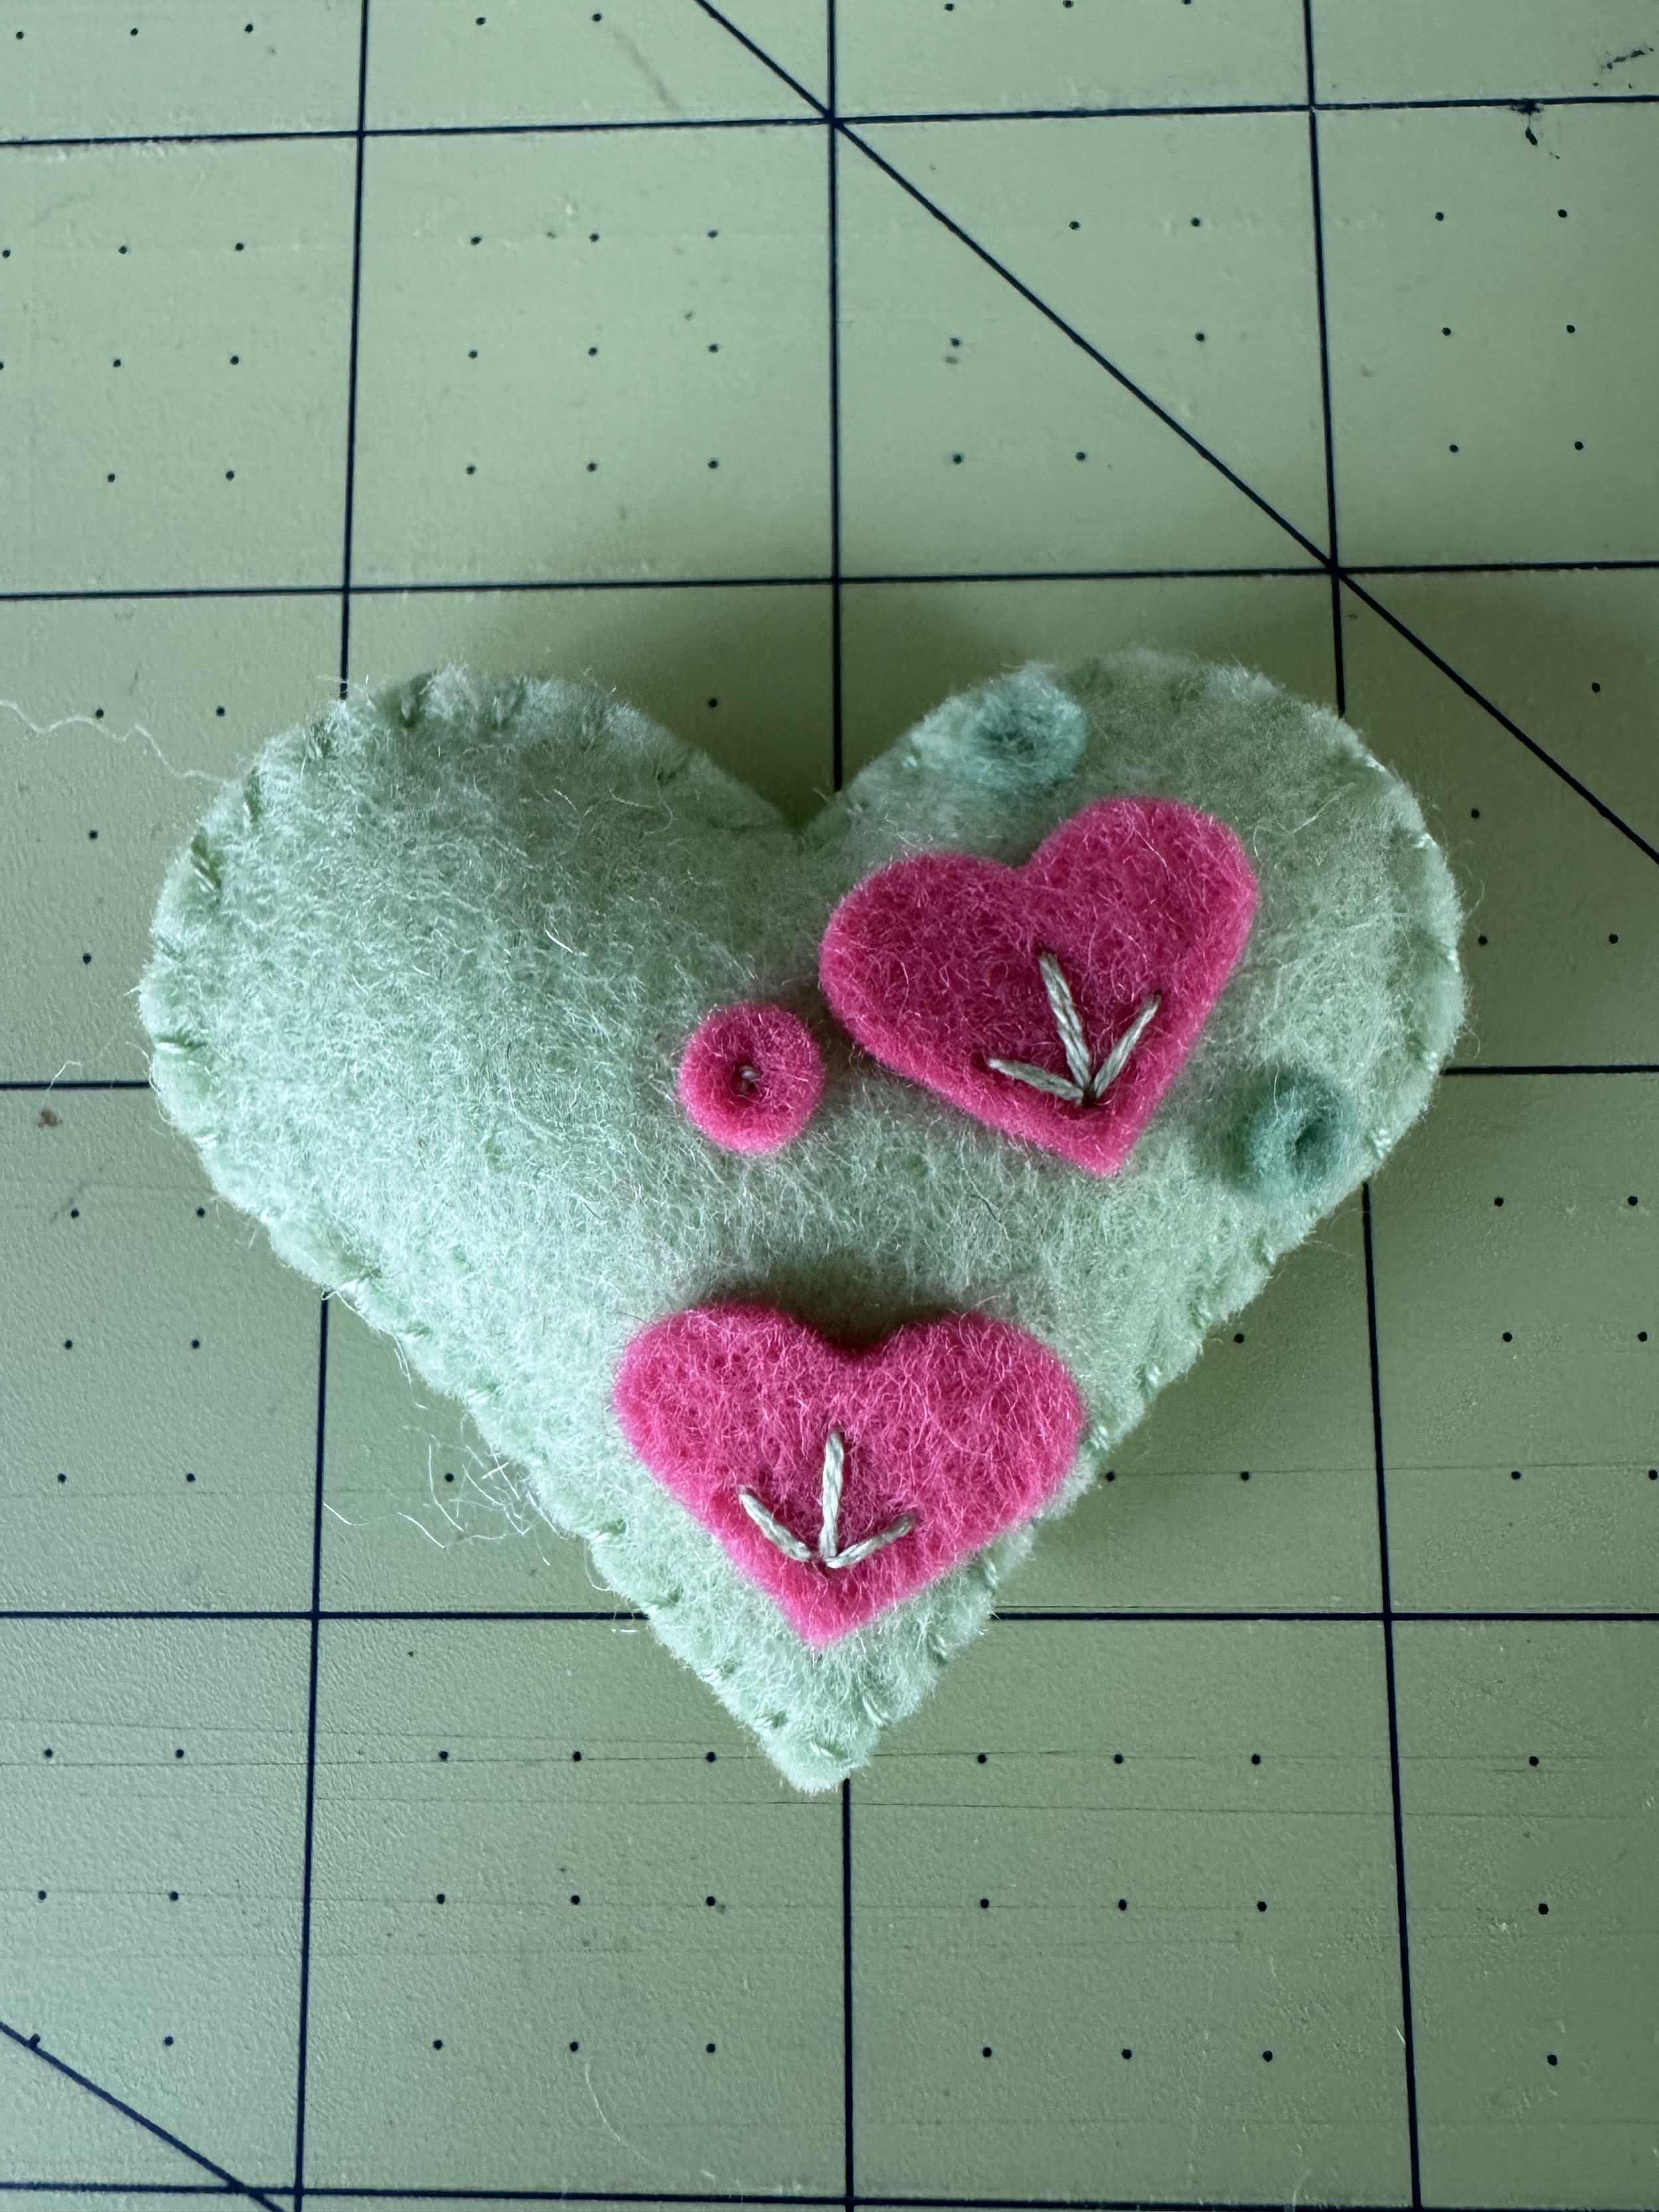
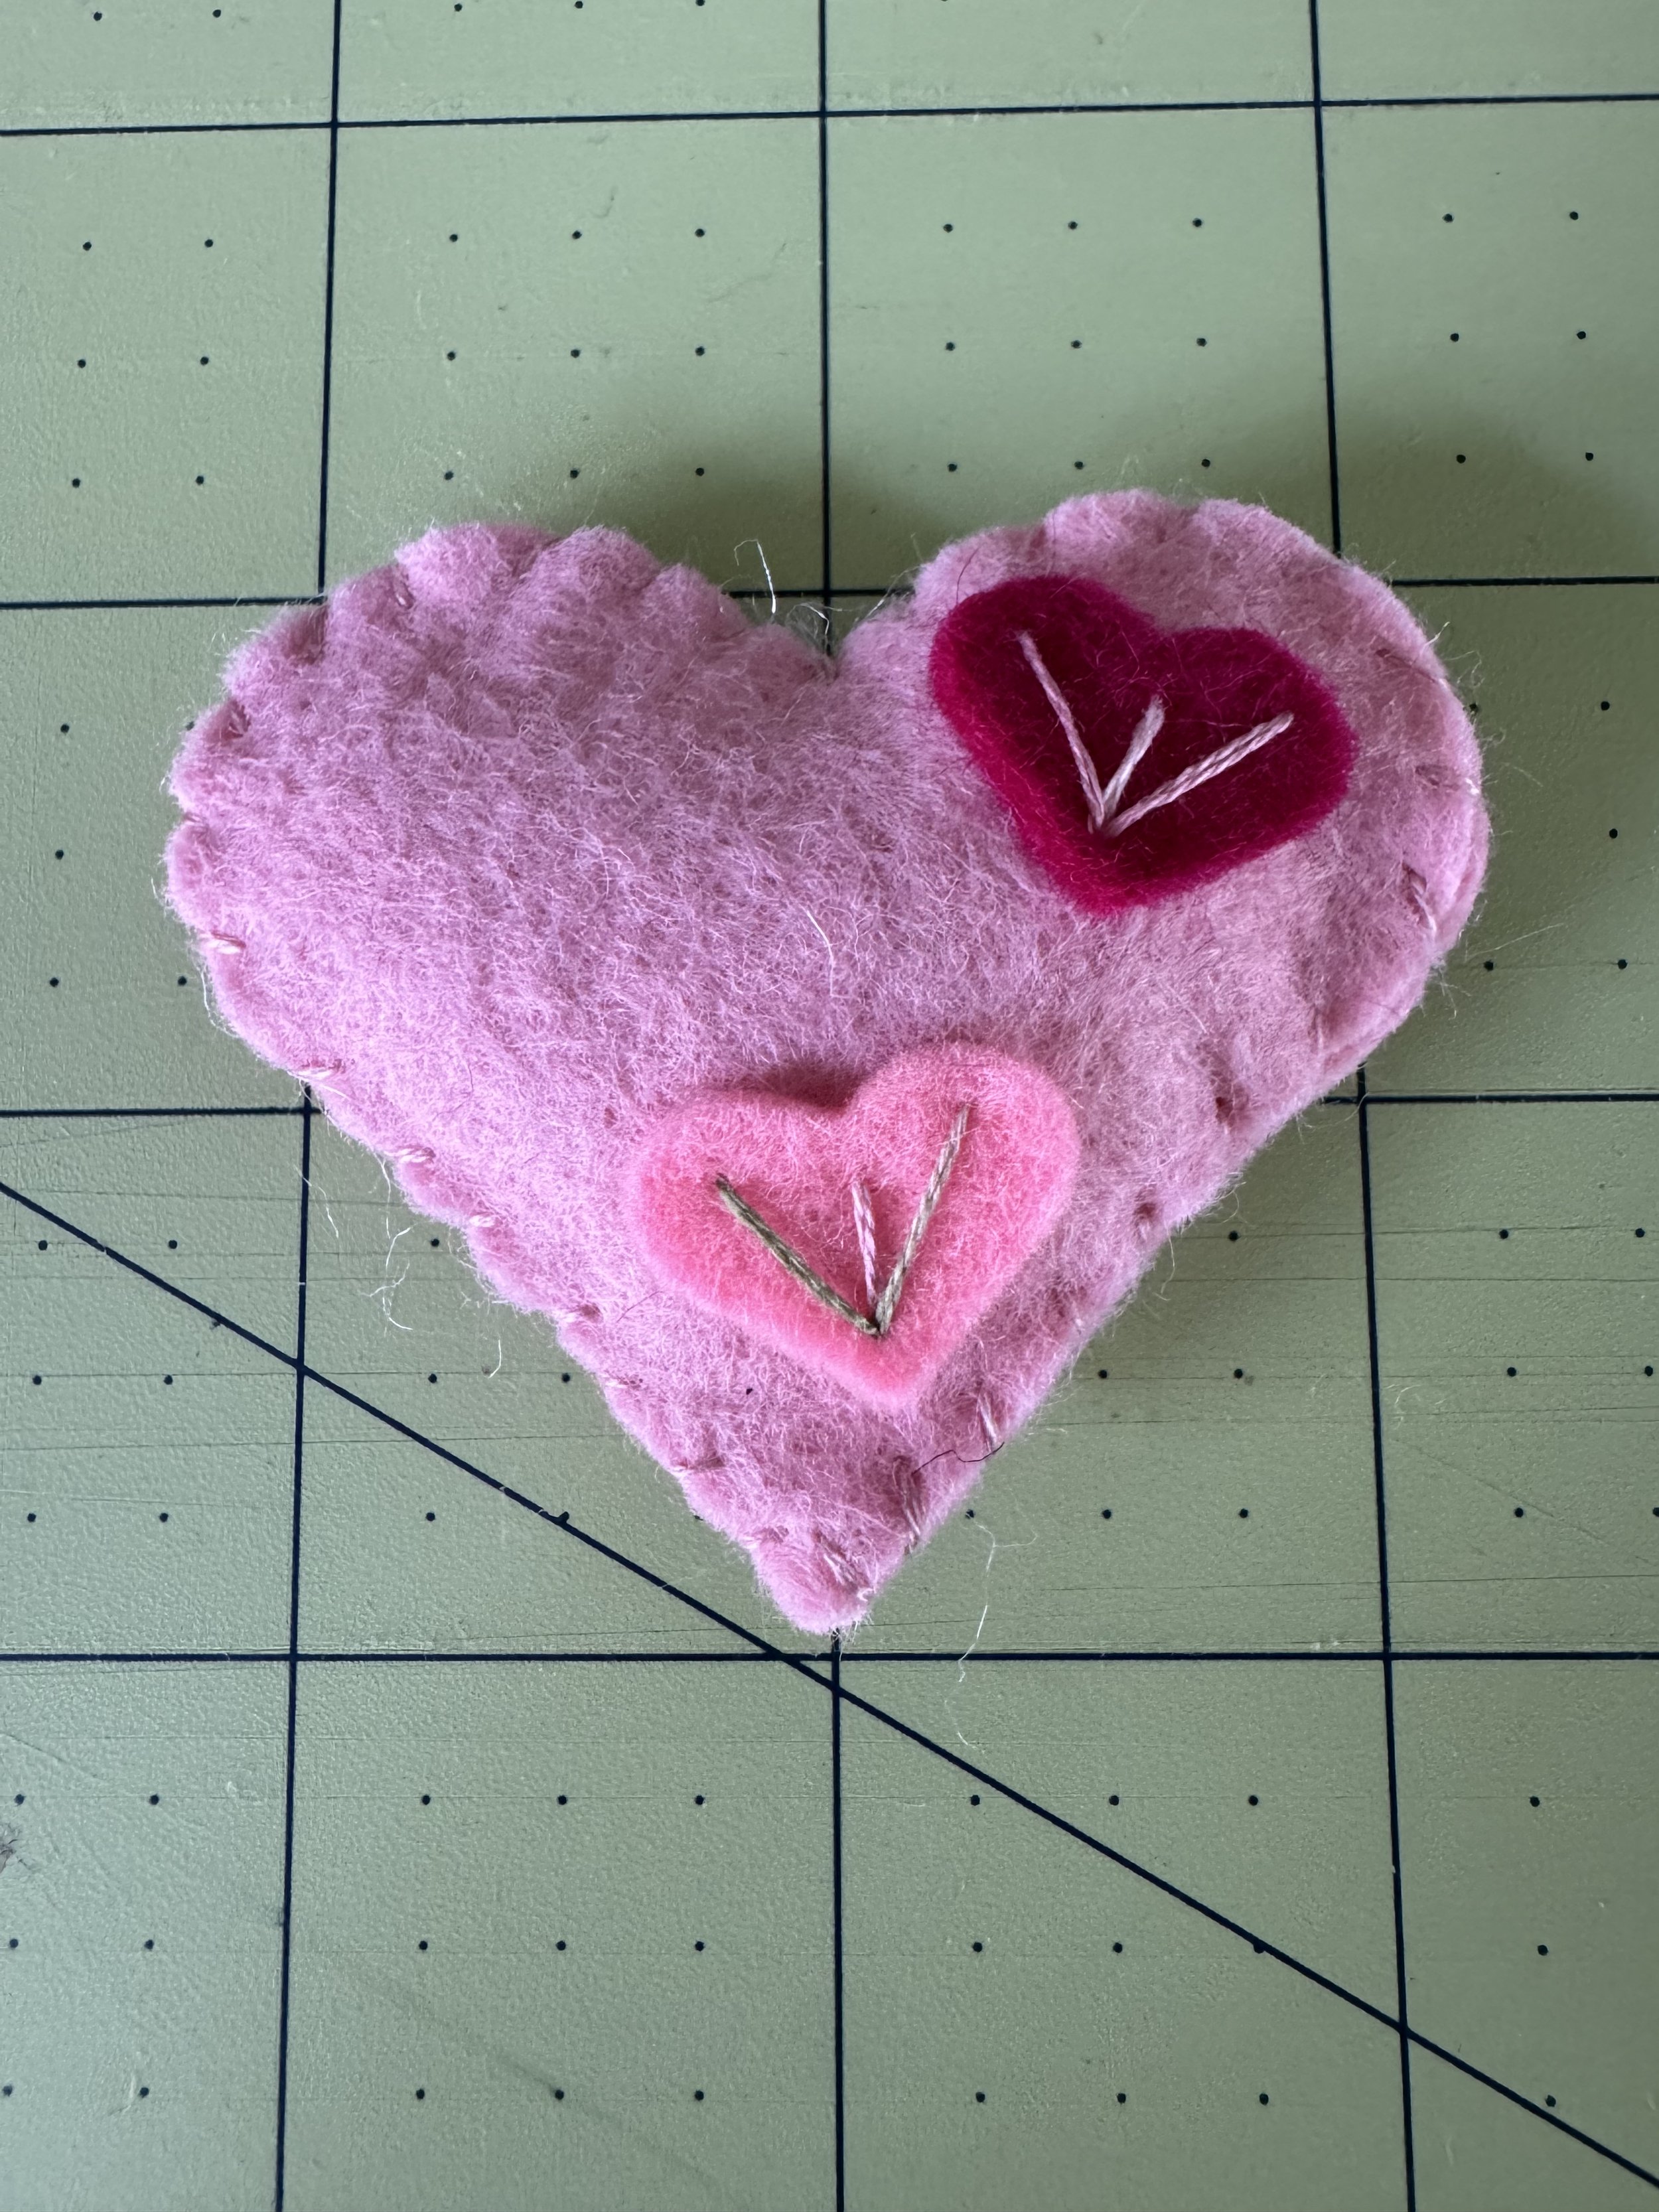
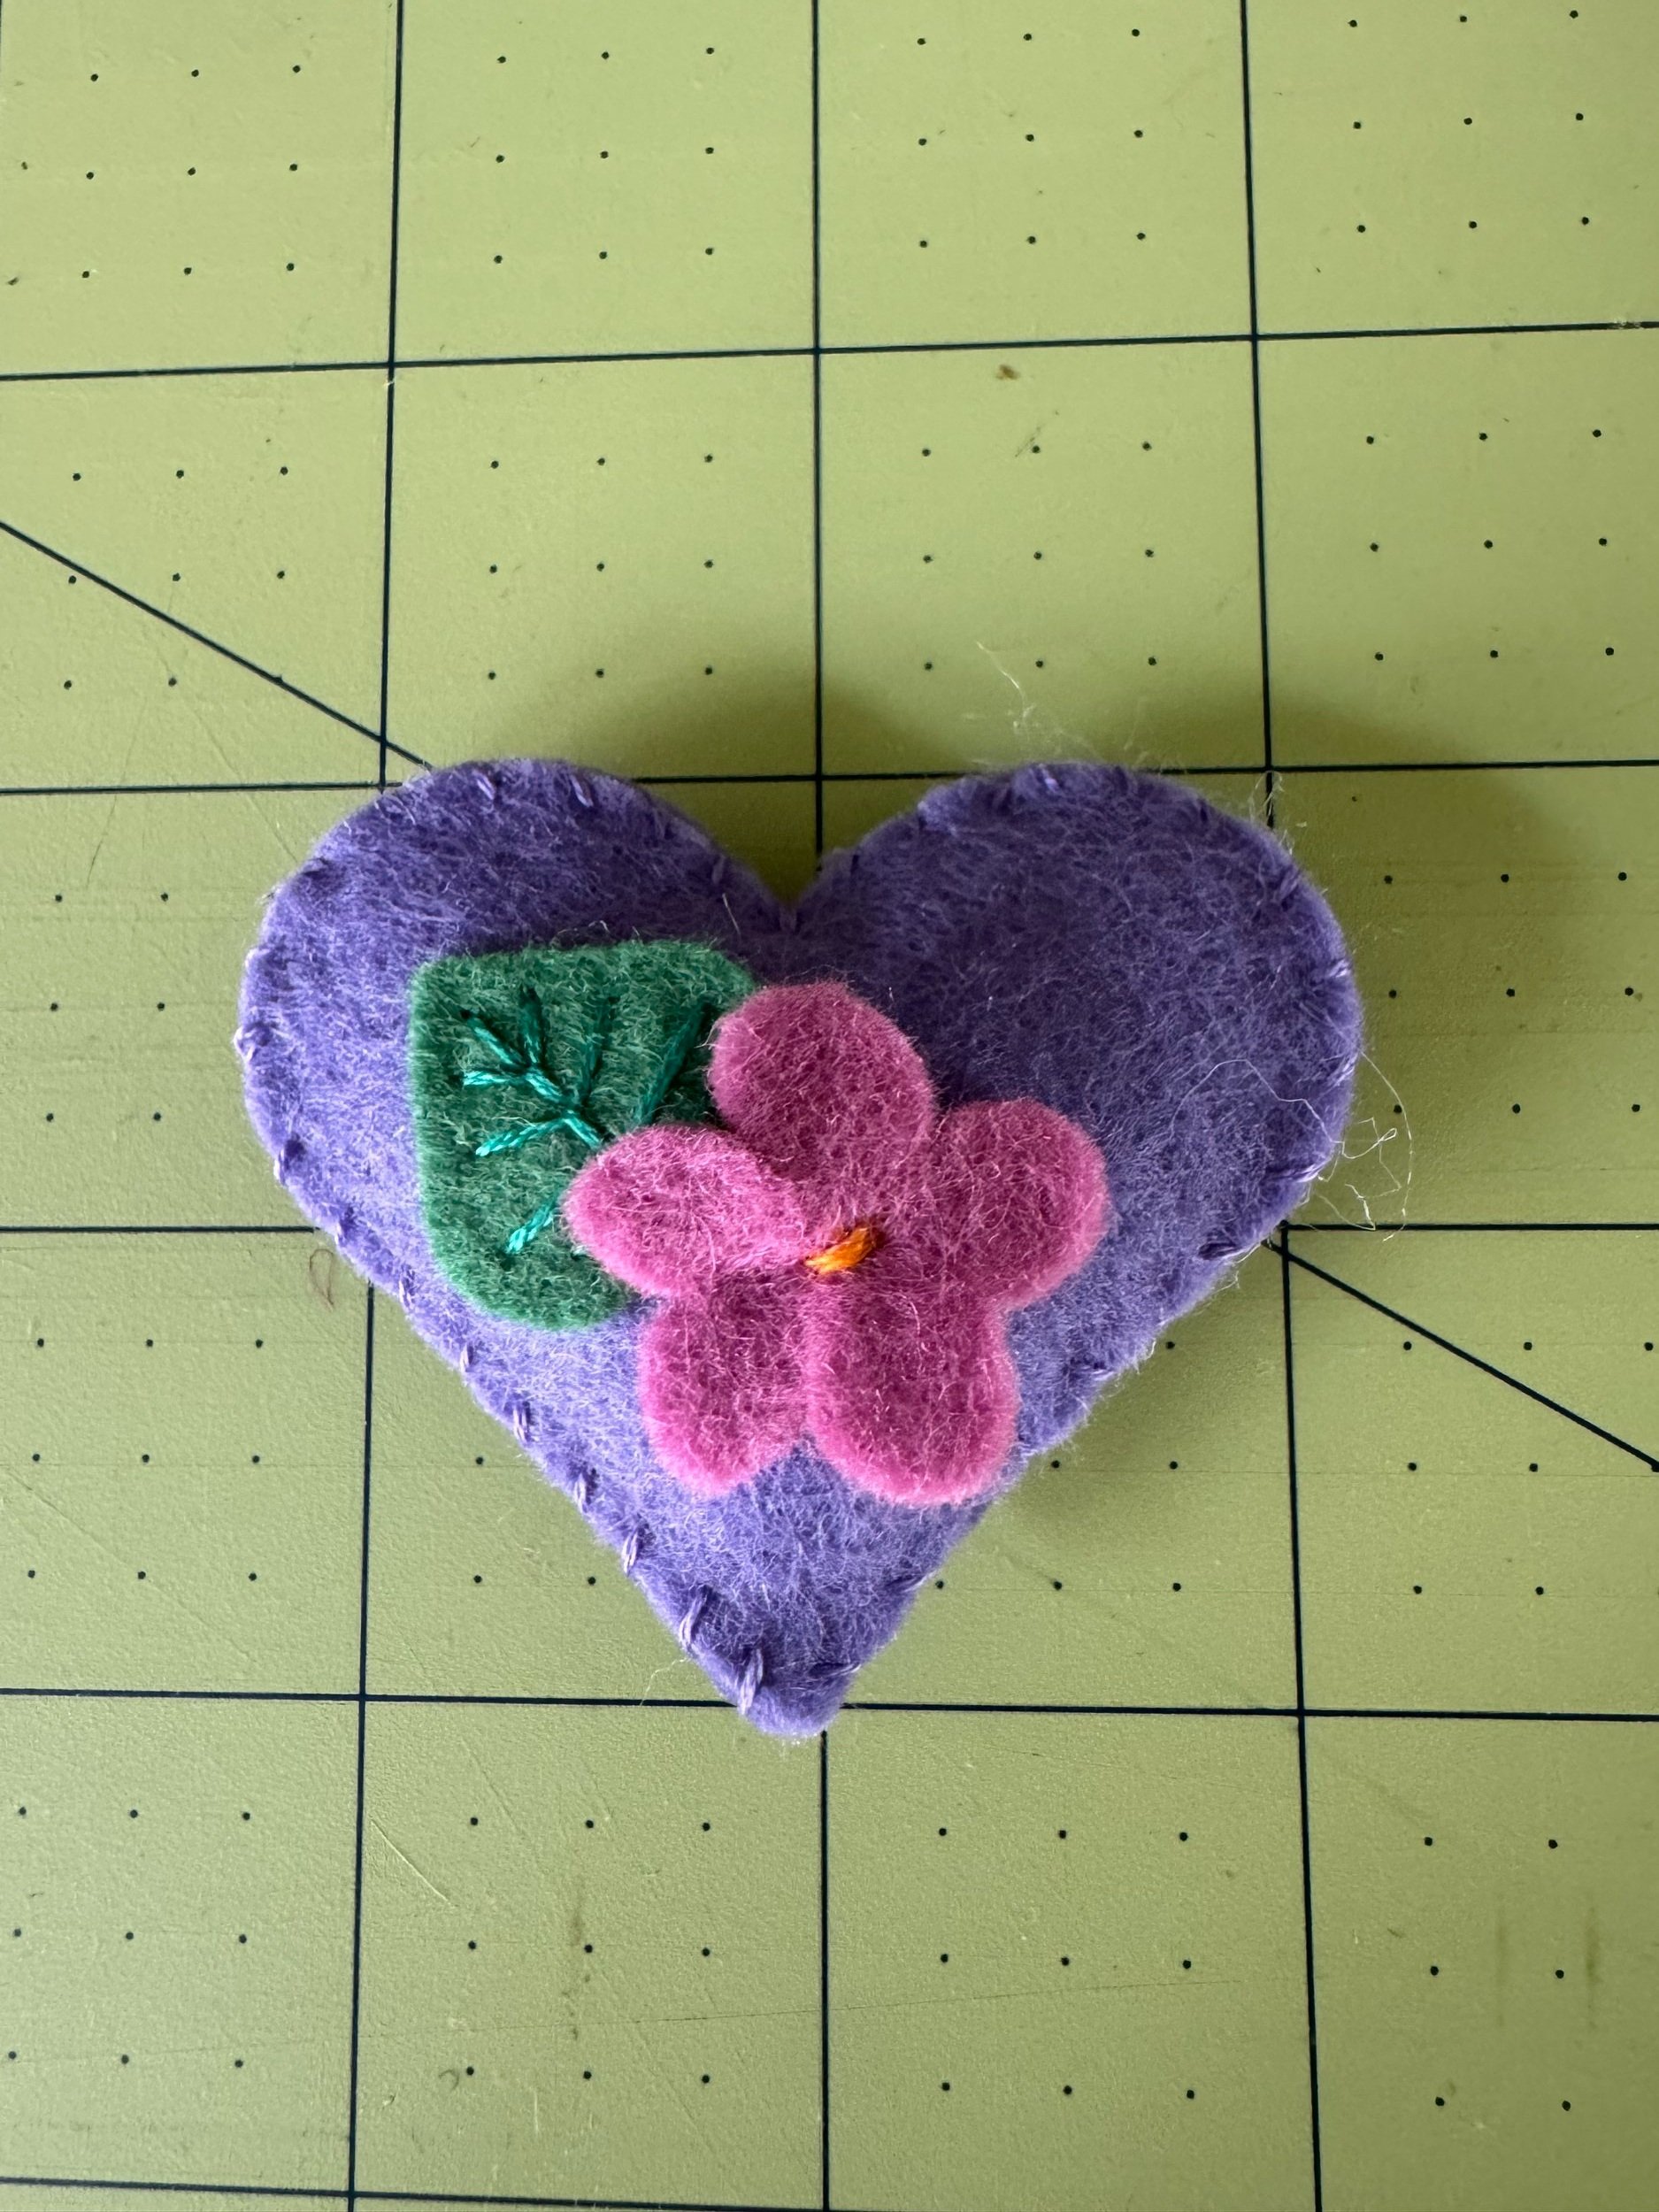
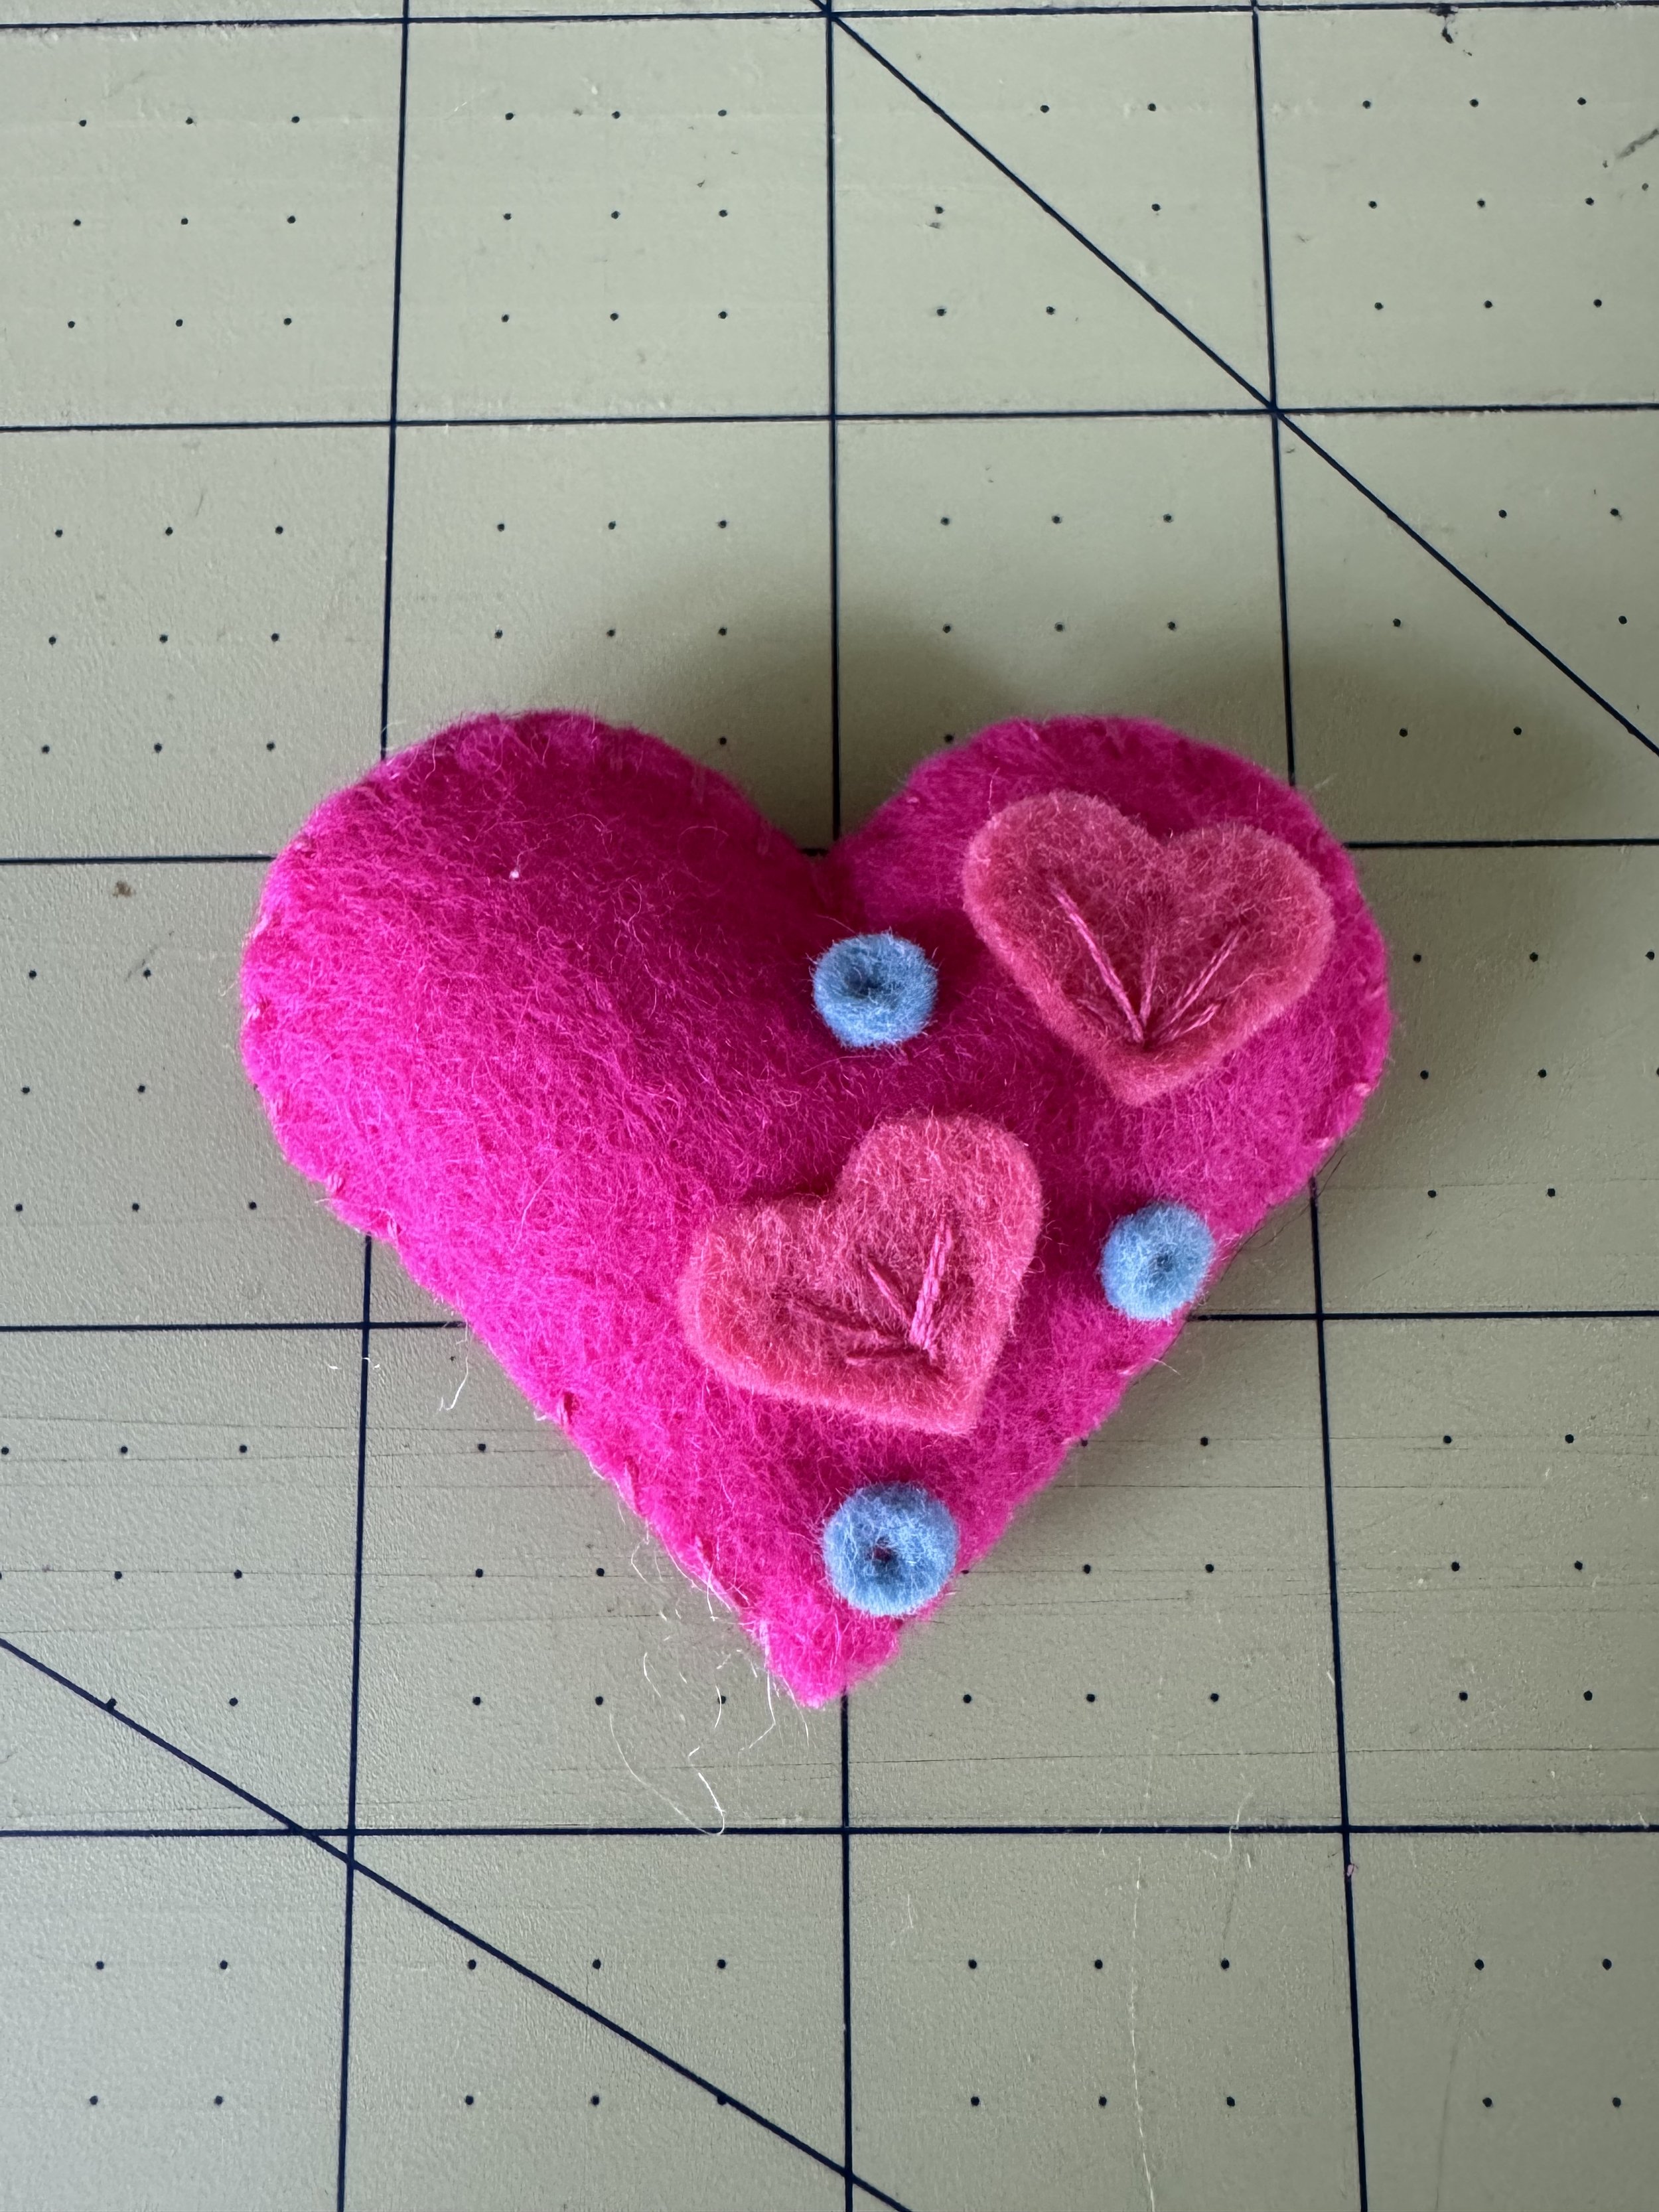
Use your floss to add embroidered accents to your pieces, like these insect antennae.
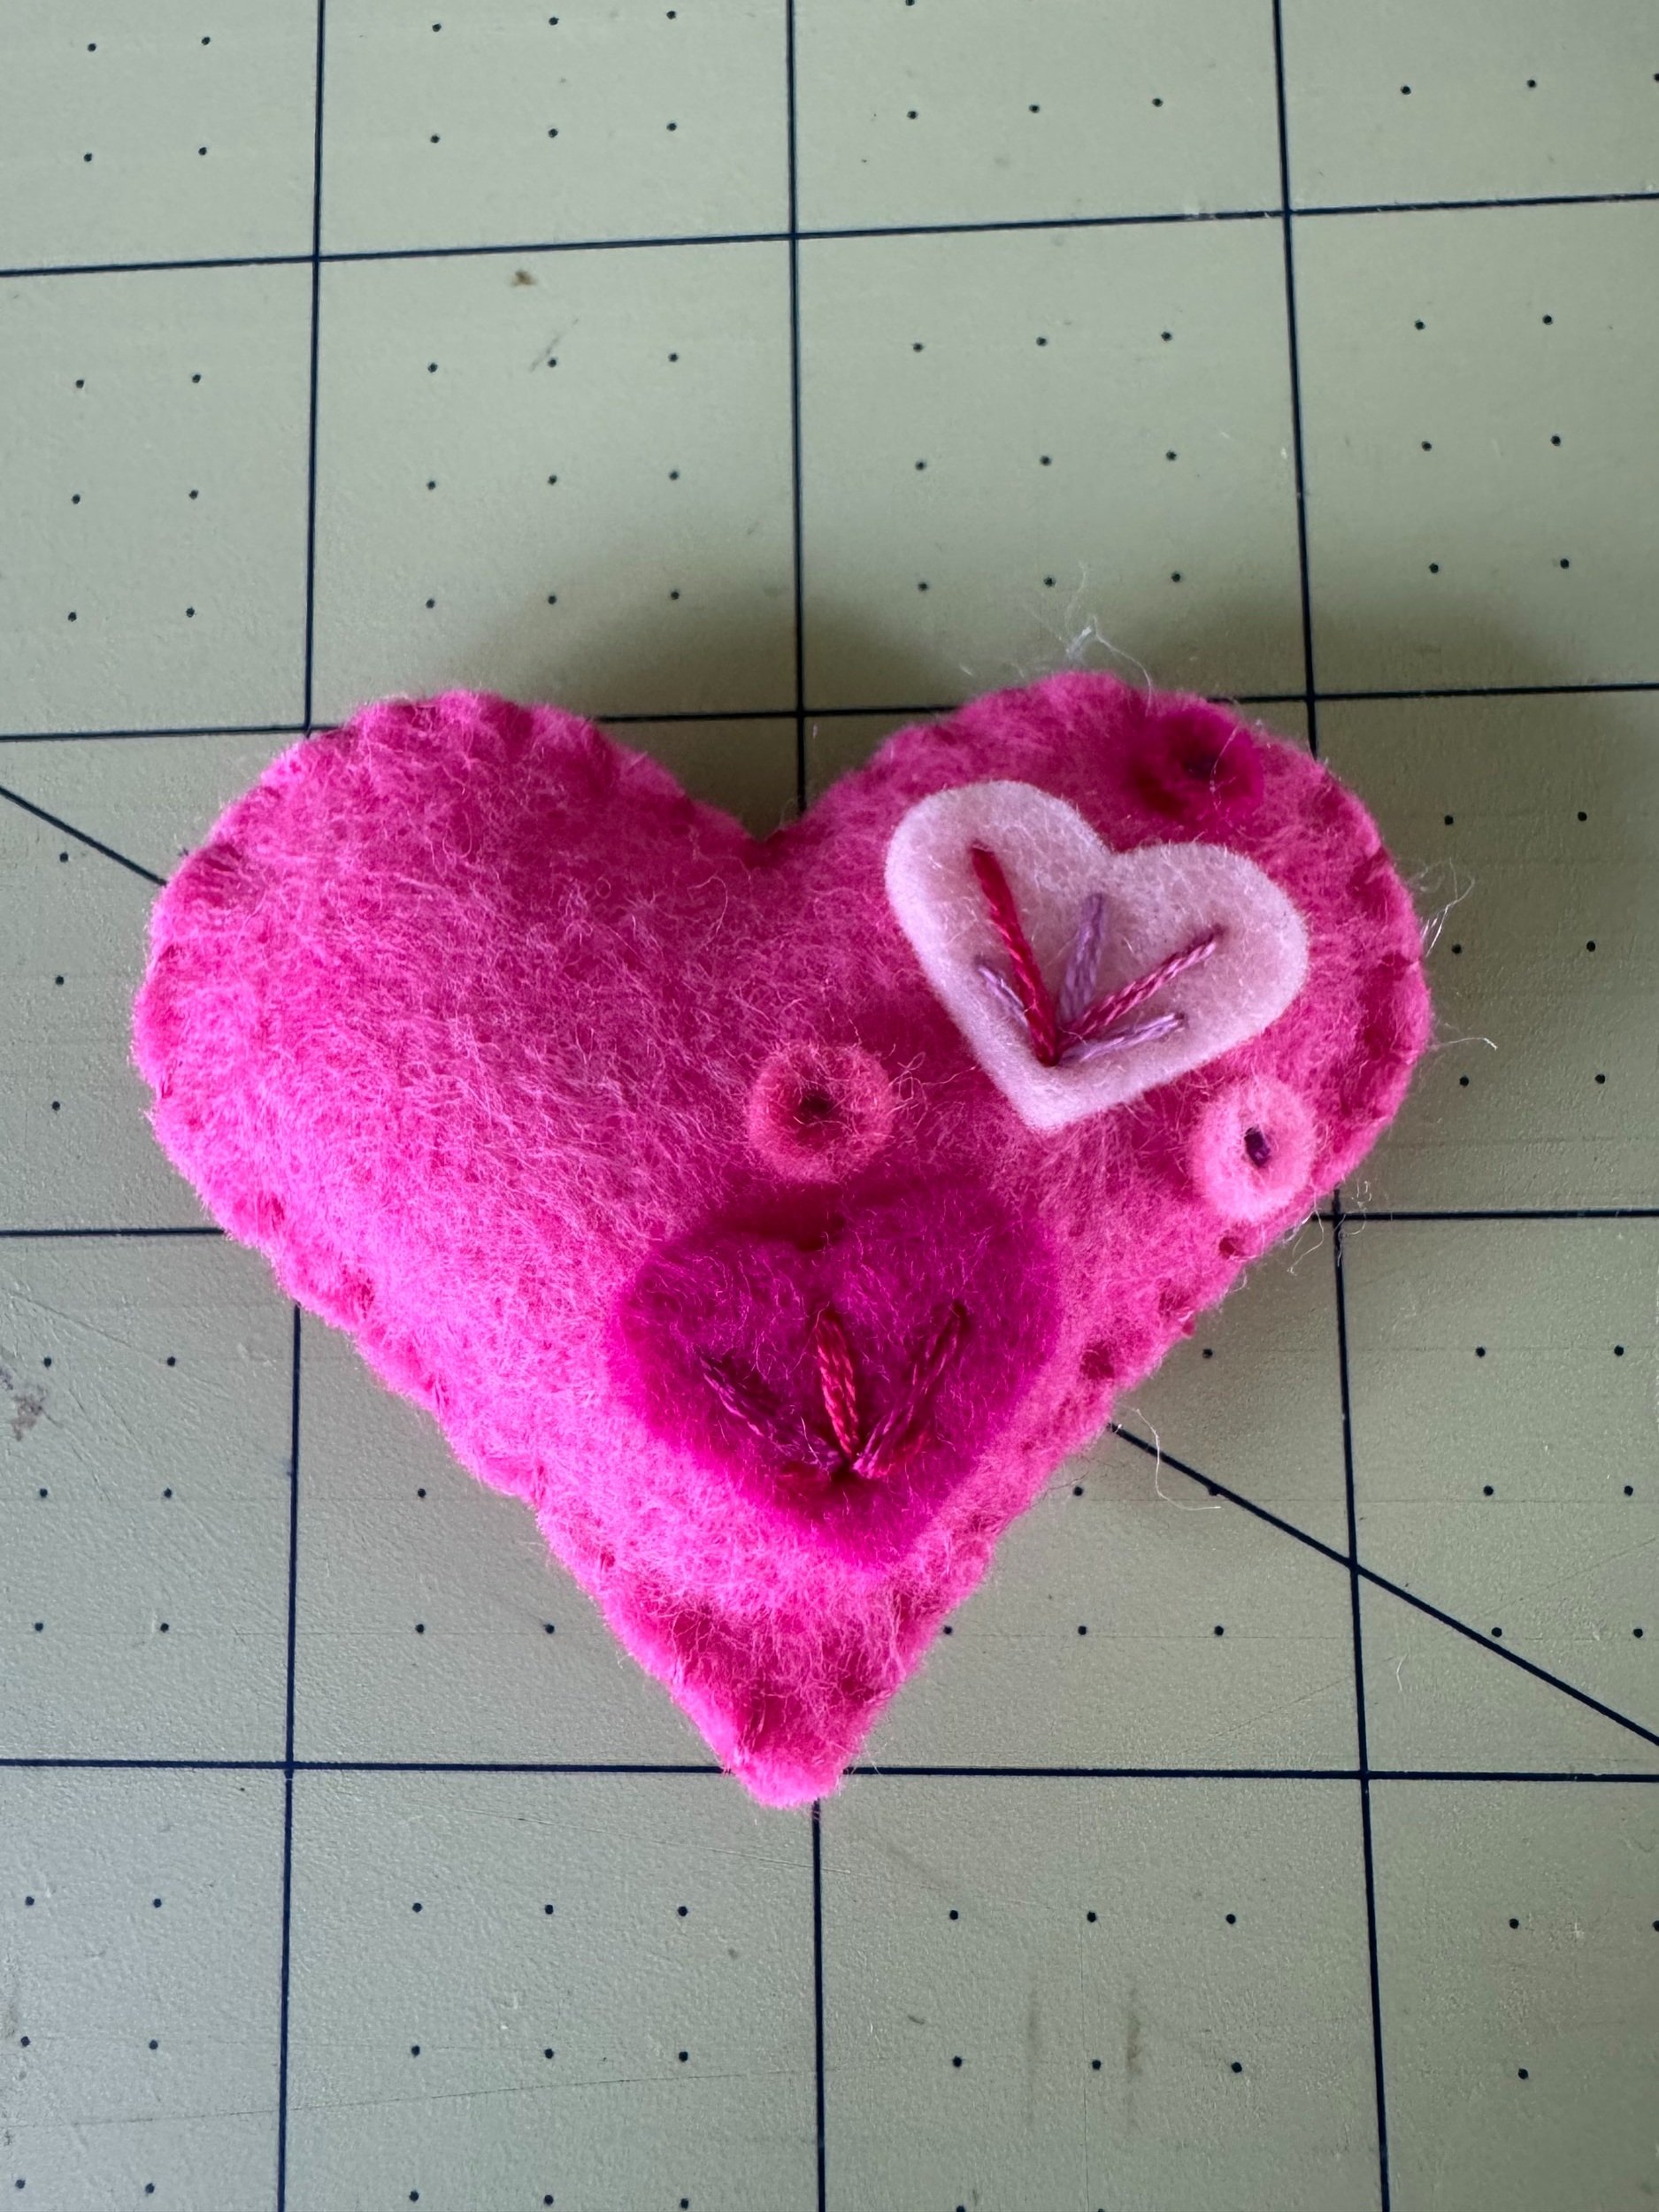
When sewing small applique pieces, you may find that tacking the piece with decorative stitches (as shown above) creates a nicer look than stitching around the edges, which may cause your applique to pucker.
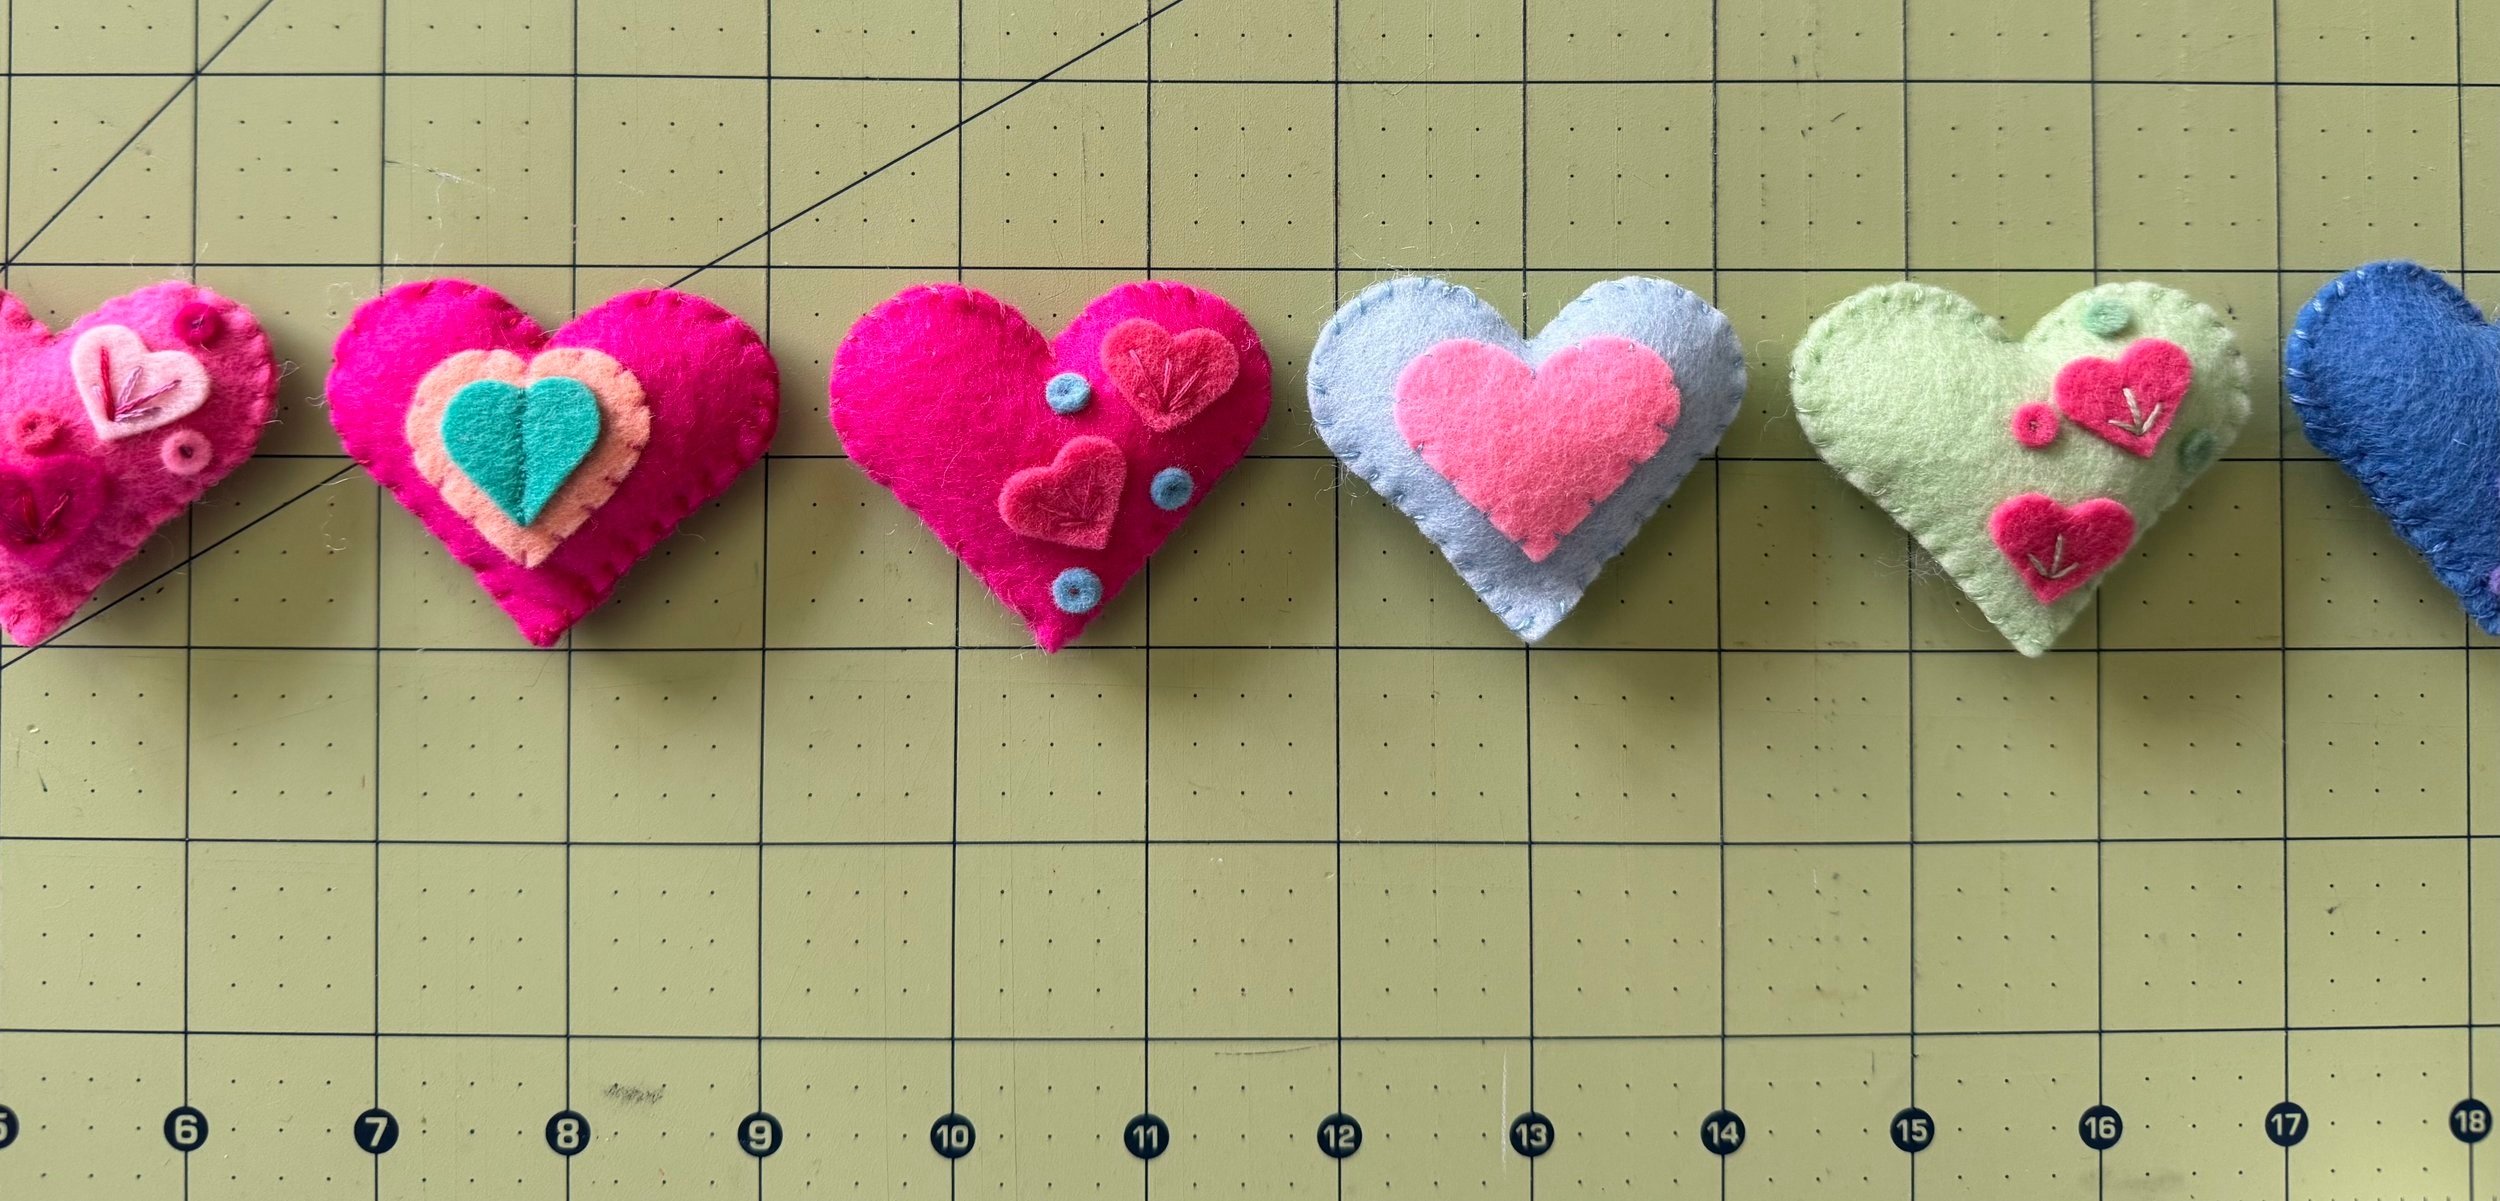
Pocket hug examples & variations
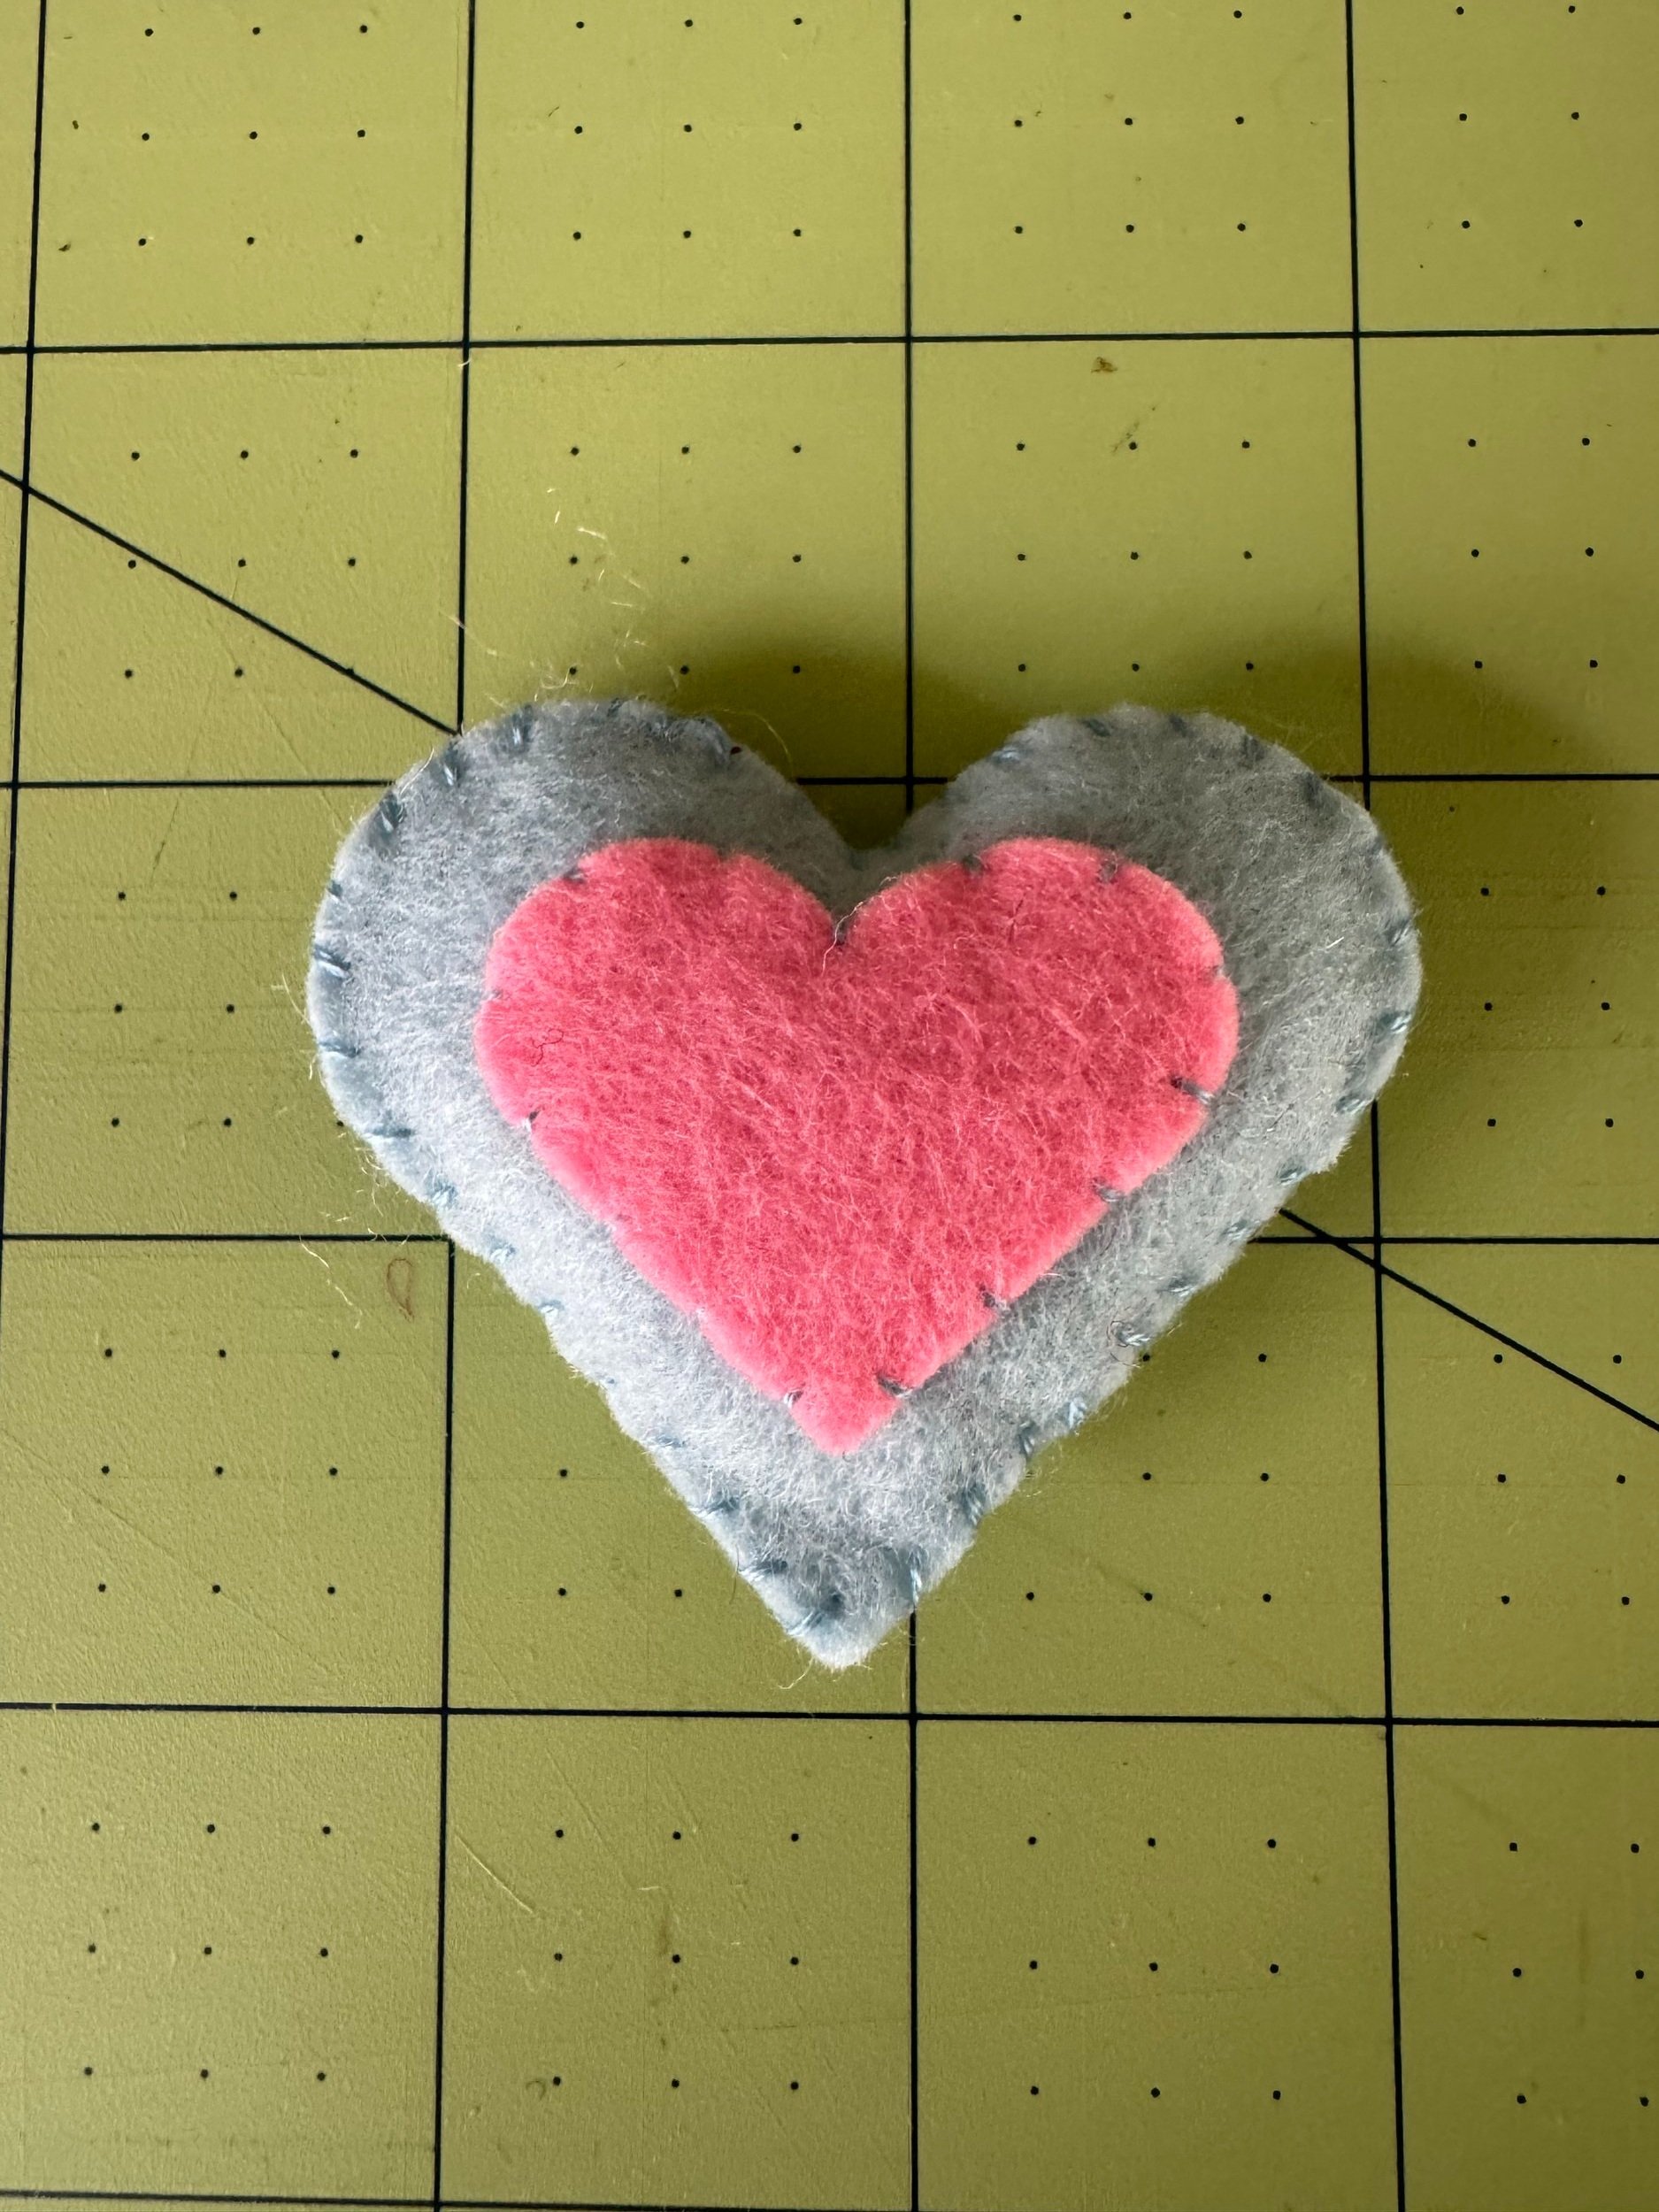
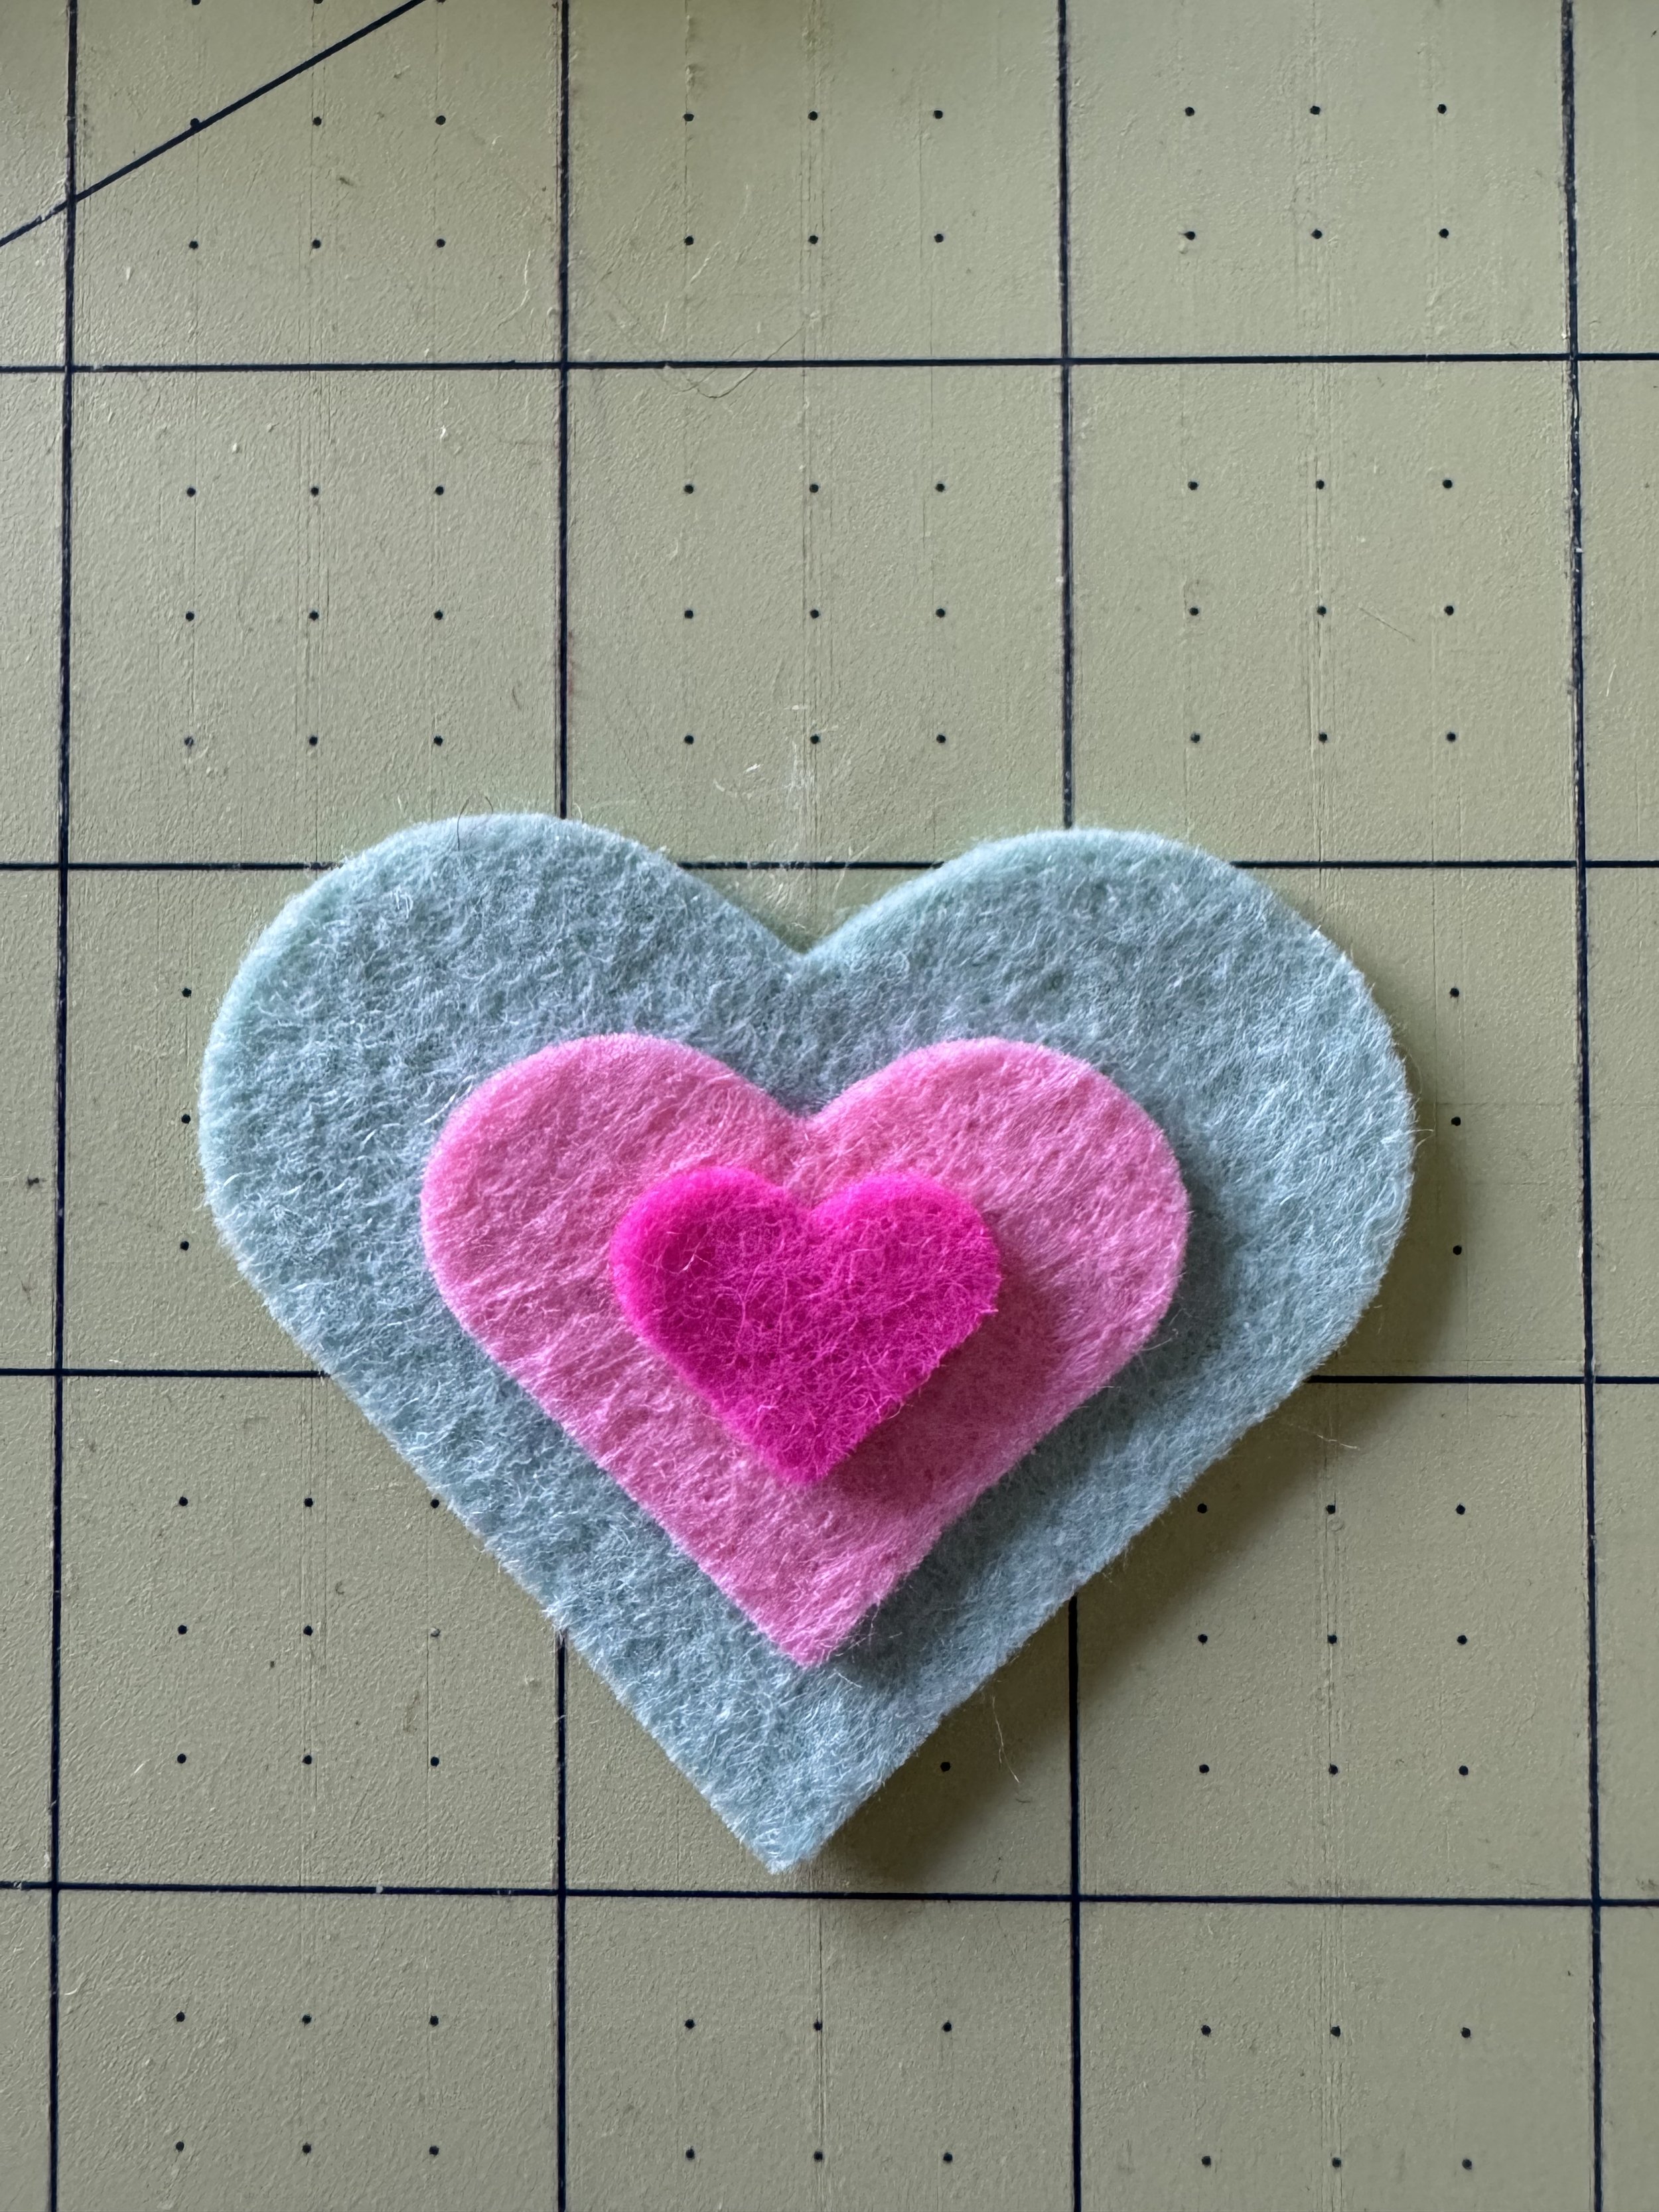
Each Pocket Hug is one-of-a-kind. The colors, combinations and shapes included in your kit is unique. These photos are offered as examples of how to complete your kit.